


Cover 6 Defense: Combining Quarters and Cover 2
Updated: 7 hours ago
Cover 6 commonly combines quarters coverage on one side with Cover 2 on the other. Two defenders divide one side into deep quarters, while a safety protects the opposite deep half. That is why the structure is also called quarter, quarter, half.
Part of Football 101. Explore the guide to choose your next topic.

The name does not mean six defenders play deep. It describes the combination of two coverage families.
Different answers on each side
On the quarters side, the corner and safety can distribute vertical threats according to the call's route matching rules. On the Cover 2 side, the corner usually works underneath with a safety above him in the deep half.
That asymmetry lets a defense handle different receiver distributions without using the same answer across the entire field. The underneath defenders still have to cover short areas and exchange crossing routes.
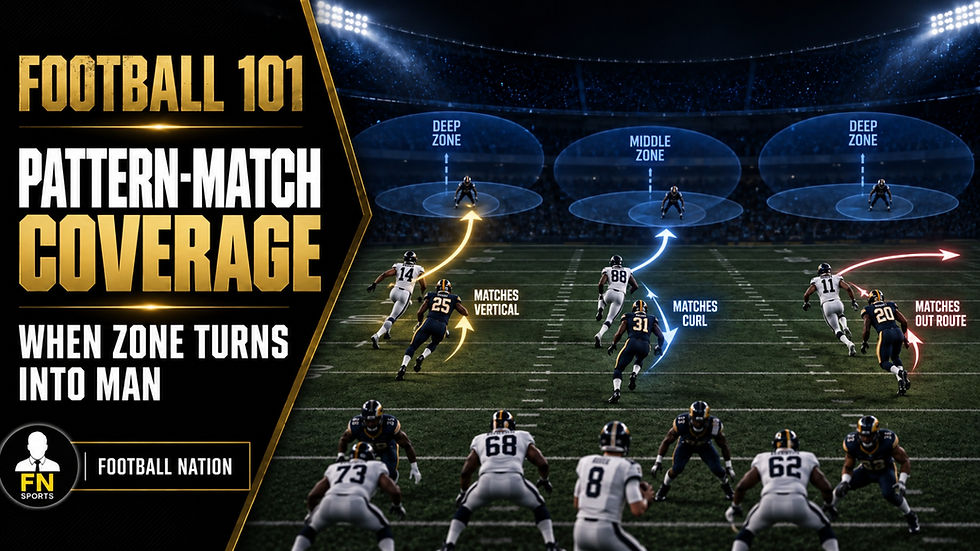
A simple diagram shows three deep defenders, but modern versions can use matching, brackets and formation checks. Those rules determine which receiver each defender actually follows after the snap.
Why use the combination?
Imagine multiple receiving threats on one side and an isolated receiver on the other. Quarters can provide two deep defenders toward the multiple threats, while the underneath corner and half safety can work together against the isolated side.
This is an example, not a mandatory orientation. Teams can set the halves by receiver strength, field width, matchup or game plan. The quarters side is not always the wider side.
The shell may resemble other two high coverages before the snap, preserving uncertainty until receivers release.
Where the offense looks
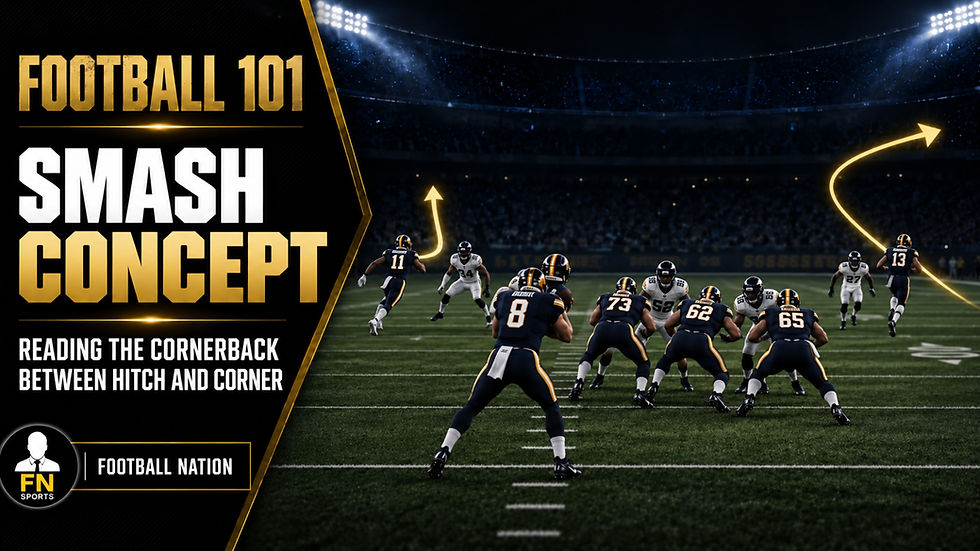
On the Cover 2 side, the offense can threaten the window above the corner and outside the safety. On the quarters side, a quick flat route can stretch underneath coverage, while play action can test a safety with run responsibilities.
Motion and crossing routes challenge the communication between the two halves. No single combination wins automatically because match rules can redirect the apparent opening.
To identify the coverage, compare the corners after the snap. A corner working short beneath a half safety on one side, opposite a corner carrying deep with a quarters safety, is a stronger clue than merely seeing two safeties before the snap. Confirm the routes they actually take before naming the call.
Examples and illustrations

Keep learning
Pattern matching explains how zones become receiver assignments.
Smash explains how a short route and corner route stress the Cover 2 side.
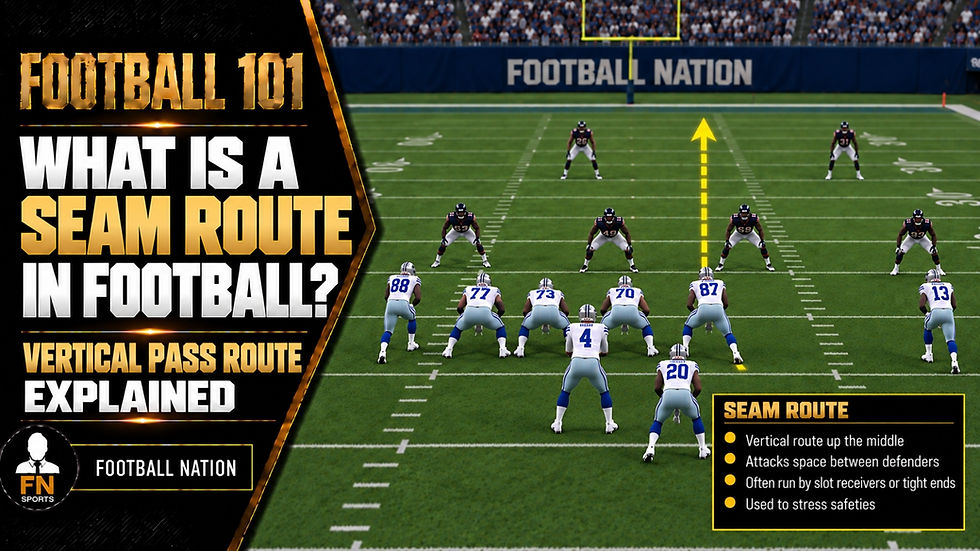
Seam routes explains how inside vertical threats challenge safety distribution.
Explore the Football 101 collection.
Comments